
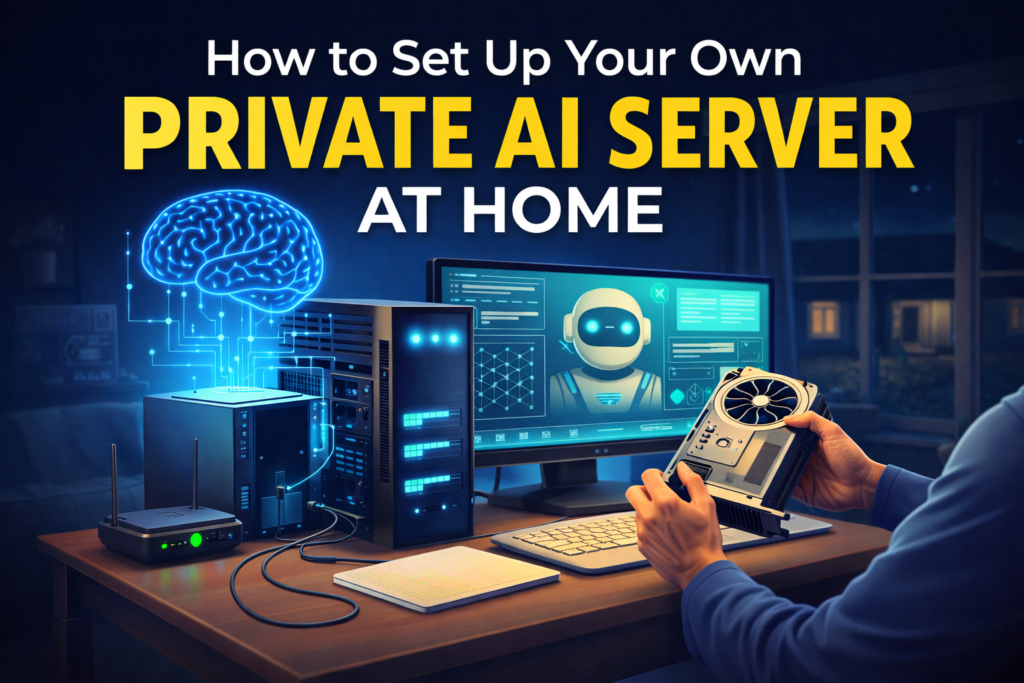
AI is getting smarter—but it’s also getting more centralized. Every prompt you send to cloud AI tools lives on someone else’s servers. That’s exactly why more creators, developers, and productivity enthusiasts are choosing to run AI locally.
Setting up your own private AI server at home gives you full control, better privacy, and long-term cost savings. And the good news? You no longer need a data center—or even advanced technical skills—to get started.
Let’s break it down step by step.
Why Run a Private AI Server at Home?
Before jumping into setup, it’s important to understand why local AI is gaining traction.
Unlike cloud tools, a private AI server lets you:
- Keep your data 100% private
- Run AI offline
- Avoid monthly API costs
- Customize models for your workflows
- Experiment freely without usage limits
If you’re already using AI daily for writing, research, or automation—like the workflows discussed in ChatGPT for Beginners: 7 Easy Ways to Boost Productivity with AI—local AI is the next logical upgrade Blogging Topic.
What You Actually Need (Hardware Basics)
Let’s start with hardware. Fortunately, modern AI models are far more efficient than they used to be.
Minimum Recommended Setup
- CPU: Modern 4-core or higher
- RAM: 16 GB (32 GB recommended)
- Storage: 50–100 GB SSD
- GPU (Optional): NVIDIA GPU with 8 GB VRAM (great but not mandatory)
Even a mid-range PC or an old workstation can work. This aligns perfectly with the growing shift toward small language models, where bigger isn’t always better—explained in Small Language Models (SLMs): When Bigger Isn’t Better.
Choose the Right Operating System
While Windows works, Linux offers better performance and flexibility for local AI servers.
Popular choices:
- Ubuntu (beginner-friendly)
- Pop!_OS (great GPU support)
- Linux Mint (easy transition from Windows)
If you’re already experimenting locally, you may have seen similar steps in How to Set Up Local AI Development Environment in 2025—this builds directly on that foundation.
Step 1: Install a Local AI Runtime
This is where the magic begins.
Two beginner-friendly options dominate right now:
Option A: Ollama (Simplest)
- One-command setup
- Optimized local models
- Clean CLI + API access
Option B: LM Studio (GUI-First)
- Visual interface
- Easy model downloads
- Ideal for non-technical users
A detailed comparison is available in Ollama vs LM Studio: Which Is Best for Local LLMs?, which helps you choose based on your comfort level.
Step 2: Download Your First AI Model
Once your runtime is installed, you’ll need a model.
Beginner-friendly models include:
- LLaMA-based models
- Mistral variants
- Quantized 7B or 13B models
If model sizes confuse you, Understanding Model Parameters: 7B, 13B, 70B Explained breaks it down in plain English.
👉 Pro tip: Start small. You can always upgrade later.
Step 3: Turn Your AI Server Into a Chat Interface
Running AI in the terminal is fine—but most people want a clean UI.
Popular options:
- Open-source web UIs
- Chat interfaces with memory
- API-ready endpoints
This is especially useful if you’re building custom workflows like those in How to Train Your Own AI Chatbot With Your Data (Beginner-Friendly).
Step 4: Add Your Own Knowledge (Optional but Powerful)
This is where your private AI becomes truly yours.
By adding Retrieval-Augmented Generation (RAG), your AI can:
- Read your PDFs
- Search your notes
- Answer questions from private documents
If this sounds advanced, don’t worry. Unlock Smarter AI: A Beginner’s Guide to RAG and Vector Databases explains it step by step.
Step 5: Secure Your Private AI Server
Security matters—especially when your AI holds personal or business data.
Basic steps:
- Run locally (no public IP)
- Use firewall rules
- Secure API endpoints
- Avoid exposing ports unnecessarily
This mindset mirrors the principles in Data Privacy 101: What Happens to Your Prompts and Conversations, but now you control the infrastructure.
When Does a Home AI Server Make Sense?
A private AI server is ideal if you:
- Use AI daily
- Handle sensitive data
- Want predictable costs
- Experiment with agents or workflows
- Prefer ownership over subscriptions
If you’re exploring agentic tools, this setup pairs beautifully with concepts from Beginner’s Guide to AI Agents: Smarter, Faster, More Useful.
Common Mistakes to Avoid
- Starting with models that are too large
- Ignoring RAM limitations
- Exposing your server to the internet
- Expecting cloud-level performance instantly
Remember, AI is a system—not magic. The learning curve becomes much smoother once you adopt the growth mindset approach to learning machine learning.
Final Thoughts: The Future Is Local + Hybrid
Cloud AI isn’t going away—but neither is local AI. The future is hybrid, where you choose the right tool for the right task.
By setting up your own private AI server at home, you’re not just saving money—you’re building long-term AI independence.
If you want to go deeper into workflows, automation, and AI-powered productivity, explore more practical guides at ToolTechSavvy.com—where AI is explained without the hype.