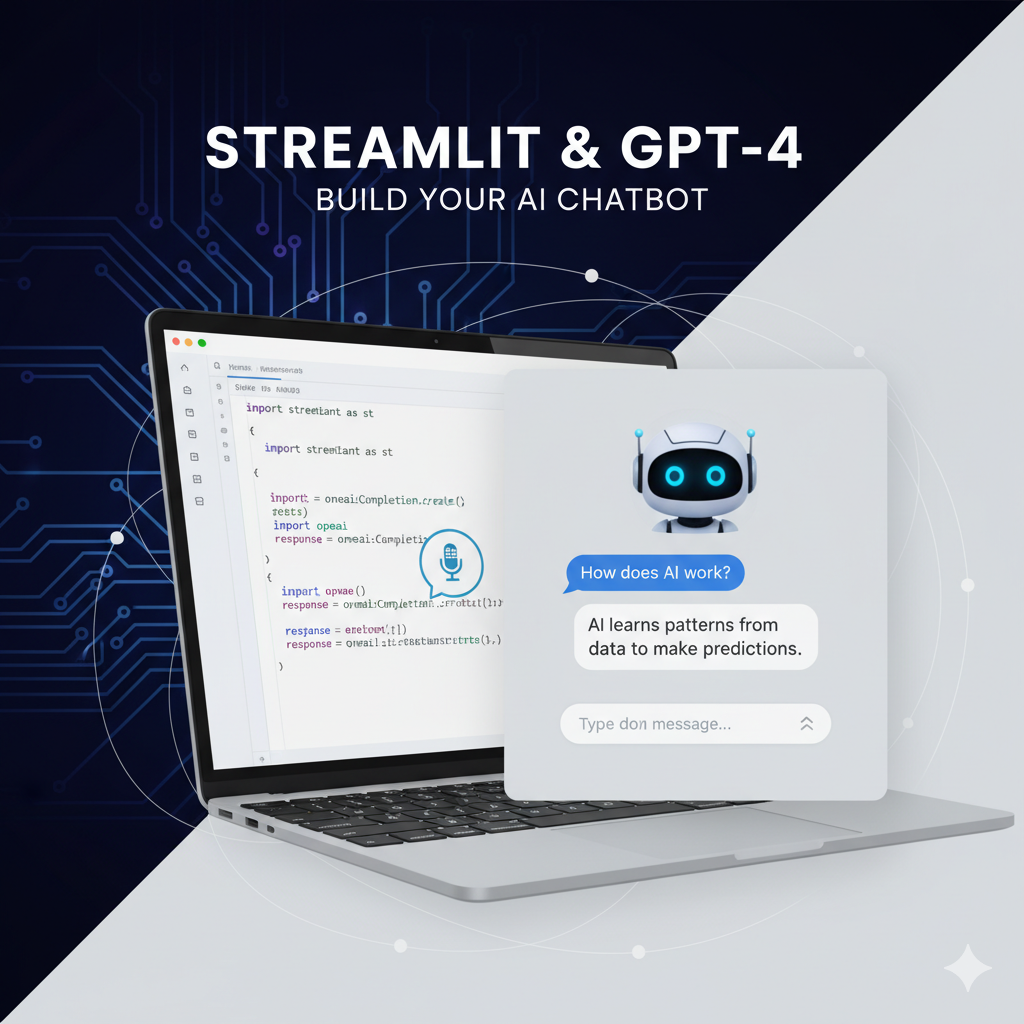
If you’ve ever wanted to create your own AI chatbot—personalized to your brand, data, or workflow—good news: it’s easier than you think. With Streamlit (a simple Python web app framework) and OpenAI’s API, you can build a custom chatbot in under an hour—no advanced coding required.
Think of this as your digital assistant, customized by you. Whether it’s answering FAQs, helping customers, or summarizing internal docs, you’re just a few lines of code away from your own GPT-powered bot.
Before we dive in, if you’re completely new to AI workflows, check out ChatGPT for Beginners: 7 Easy Ways to Boost Productivity with AI for context.
Step 1: What You Need Before You Start
Tools & Setup
- Python 3.9+ installed
- Streamlit (to build the interface)
- OpenAI API key (you can get one at platform.openai.com)
Install dependencies:
pip install streamlit openai
Once installed, create a new file named app.py.
Step 2: The Core Chatbot Code
Here’s a simple Streamlit app that connects with OpenAI:
import streamlit as st
from openai import OpenAI

client = OpenAI(api_key="YOUR_API_KEY")

st.title("💬 My Custom Chatbot")
st.write("Ask anything and get a smart response!")

if "messages" not in st.session_state:
    st.session_state["messages"] = []

for msg in st.session_state.messages:
    st.chat_message(msg["role"]).write(msg["content"])

if prompt := st.chat_input("Type your question..."):
    st.session_state.messages.append({"role": "user", "content": prompt})
    st.chat_message("user").write(prompt)

    response = client.chat.completions.create(
        model="gpt-4o-mini",
        messages=st.session_state.messages,
    )
    reply = response.choices[0].message.content
    st.session_state.messages.append({"role": "assistant", "content": reply})
    st.chat_message("assistant").write(reply)
Run your chatbot:
streamlit run app.py
✅ That’s it! You now have a local chatbot UI that talks like ChatGPT—but designed for your needs.
Step 3: Customize Your Chatbot
You can make it truly yours:
- Add personality with system prompts:
{"role": "system", "content": "You are a friendly coding tutor who explains simply."} - Connect your own data using Retrieval-Augmented Generation (RAG).
- Deploy your chatbot with Streamlit Cloud for free.
For a deeper dive into chatbot logic and AI agent design, explore Introduction to LangChain Agents: Building Your First AI Workflow.
Step 4: Understanding What’s Happening Under the Hood
If you’re wondering how it all works—think of it like this:
- The AI model (GPT-4 or GPT-3.5) is the engine.
- Streamlit is the dashboard that lets users interact with it.
- Your prompt history is the fuel, guiding how the AI responds.
Want to understand how model settings like Temperature and Top-p affect chatbot behavior? Read Temperature vs Top-p: A Practical Guide to LLM Sampling Parameters.
Step 5: Add Advanced Features
Once your base chatbot works, here are some ideas to make it smarter:
- RAG integration: Store FAQs or documents in a vector database like Pinecone or FAISS for contextual answers.
- Memory: Use session tracking to make your chatbot remember previous conversations.
- 🧠Multi-agent setups: Combine your chatbot with a planning agent using LangChain.
Step 6: Deploy and Share
You can deploy your chatbot in several ways:
- Streamlit Cloud (fastest and free)
- Render.com (great for small apps)
- Hugging Face Spaces (for AI enthusiasts)
Once live, share the link with your users or team—your chatbot is now ready to handle questions, brainstorms, and automation tasks!
Why This Matters
Building your own chatbot is more than a fun coding project—it’s a gateway to AI literacy. You’ll not only learn how language models think but also see firsthand how tools like OpenAI, LangChain, and Streamlit can empower non-engineers to create intelligent systems.
For even more inspiration, read Top 5 Free Tools for Building Chatbots in 2025: Your Complete Guide.
Conclusion: Your First Step Toward Practical AI
You don’t need to be a developer to build something amazing. With Streamlit and OpenAI, anyone can create interactive AI experiences—from customer support bots to personal learning assistants.
Want to go further? Try connecting your chatbot with real data using RAG or vector databases. That’s how everyday creators are turning simple projects into powerful AI applications.